

Talo Guide
First session: step-by-step tutorial
A walk-through of your first session in Talo, from creating a project to your first response.
This page is the most important tutorial in the entire guide. If you're only going to read one page before you start using Talo, make it this one. In just a few steps you'll create your first project, understand what TALO.md is, and have your first conversation with an assistant.
Step 1 · Open Talo
Open Talo from Applications. On a new profile you'll see the setup assistant first. Confirm language and agent, and decide whether you want to copy the example project with sample data. Then you reach Home, where you write, see your projects, and continue where you left off last time. If you haven't connected Claude Code or Codex yet, you can explore the interface, but you can't send a turn to the agent until you sign in.
Step 2 · Create your first project
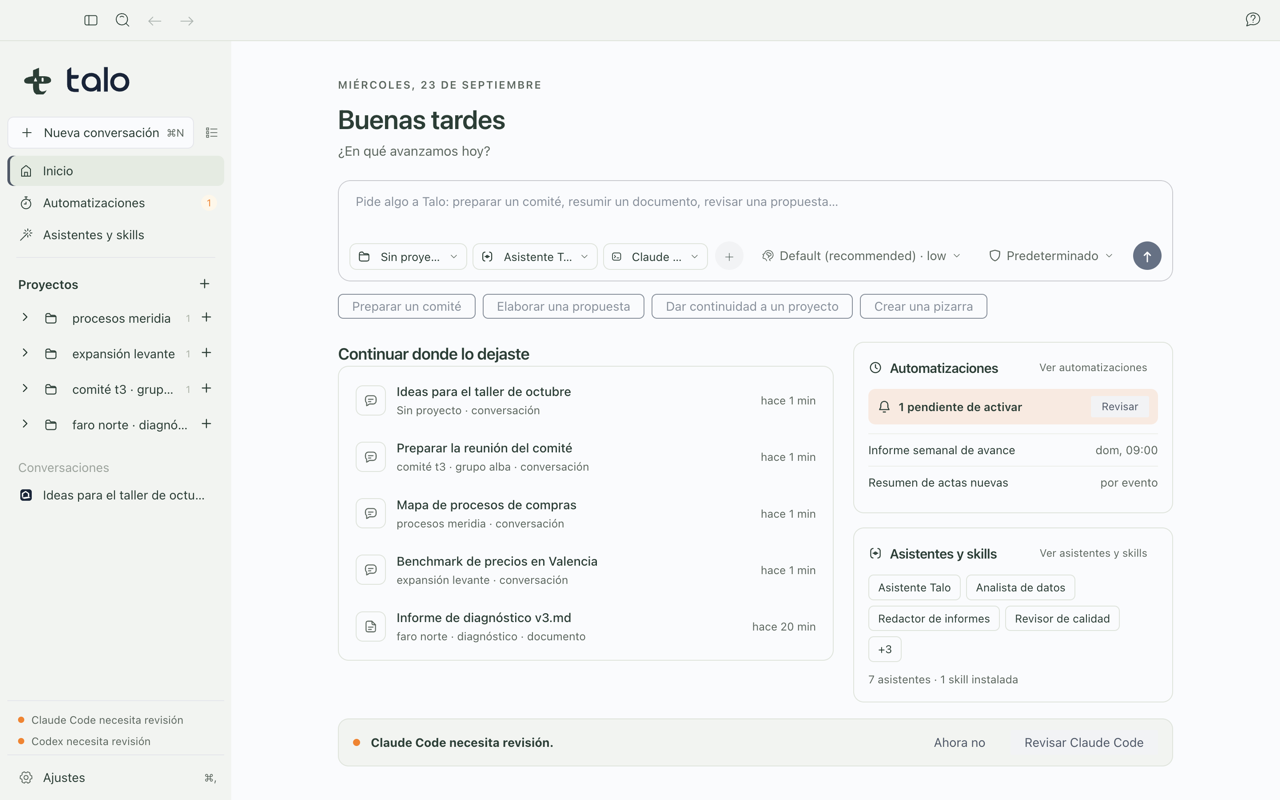
Click "Create project" and pick a folder on your Mac (it can be a new folder or one you already use for that client). Talo opens the project page with that folder as the base. Its documents, diagrams, and conversations will all live there, without mixing with other projects.
When you go back to Home, you'll see your project already listed:
Step 3 · Meet TALO.md, the project instructions
Each project has a file called TALO.md that you can edit from the project's "Overview" tab. There you write in plain language how you want to work with this client: the tone, document format, a signature, and other instructions. Facts extracted from files and conversations appear separately in Memory.
The assistant reads TALO.md at the start of each conversation in that project, so you don't have to repeat those instructions every time you write. If you change something in TALO.md while a conversation is open, the change applies the next time the assistant starts, not mid-response.
For this first time, a short sentence is enough: for example, the project objective and who the documents are for.
Step 4 · Start your first conversation
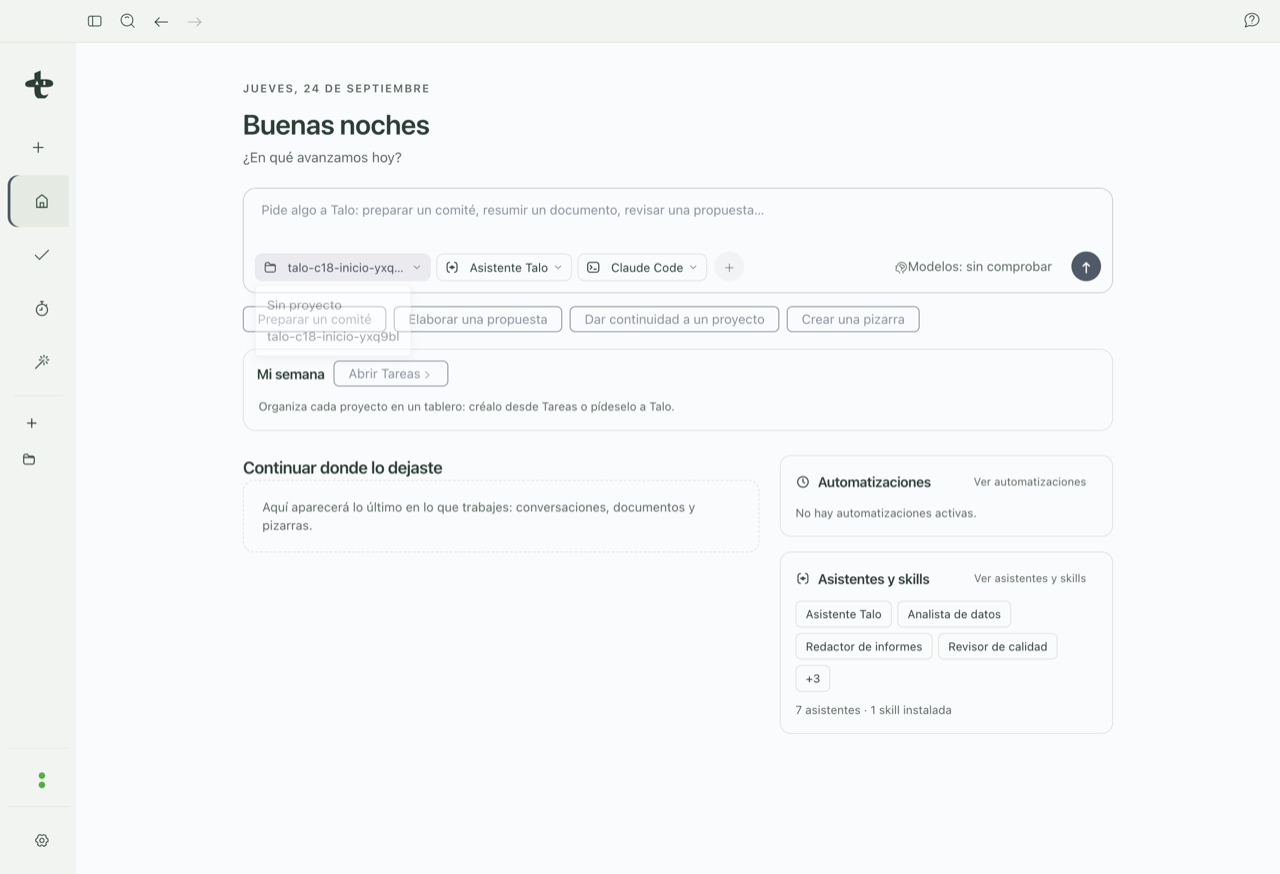
Go back to Home. In the compose box at the top, use the dropdown to pick your project; Talo suggests "Talo Assistant" over Claude Code as a starting point. If you've only connected Codex, switch the engine before sending the message.
Step 5 · Ask for something specific
Write a request related to your project (for example, "Write a one-page summary of this project's objective and who it's for" or "Draft meeting notes with these points: ..."). The more specific your request, the better the first response.
Step 6 · Send the message and watch the response
Hit send. You'll see the response appear in real time, like someone writing it in front of you. You can stop it anytime if you already have what you need.
Step 7 · Come back anytime
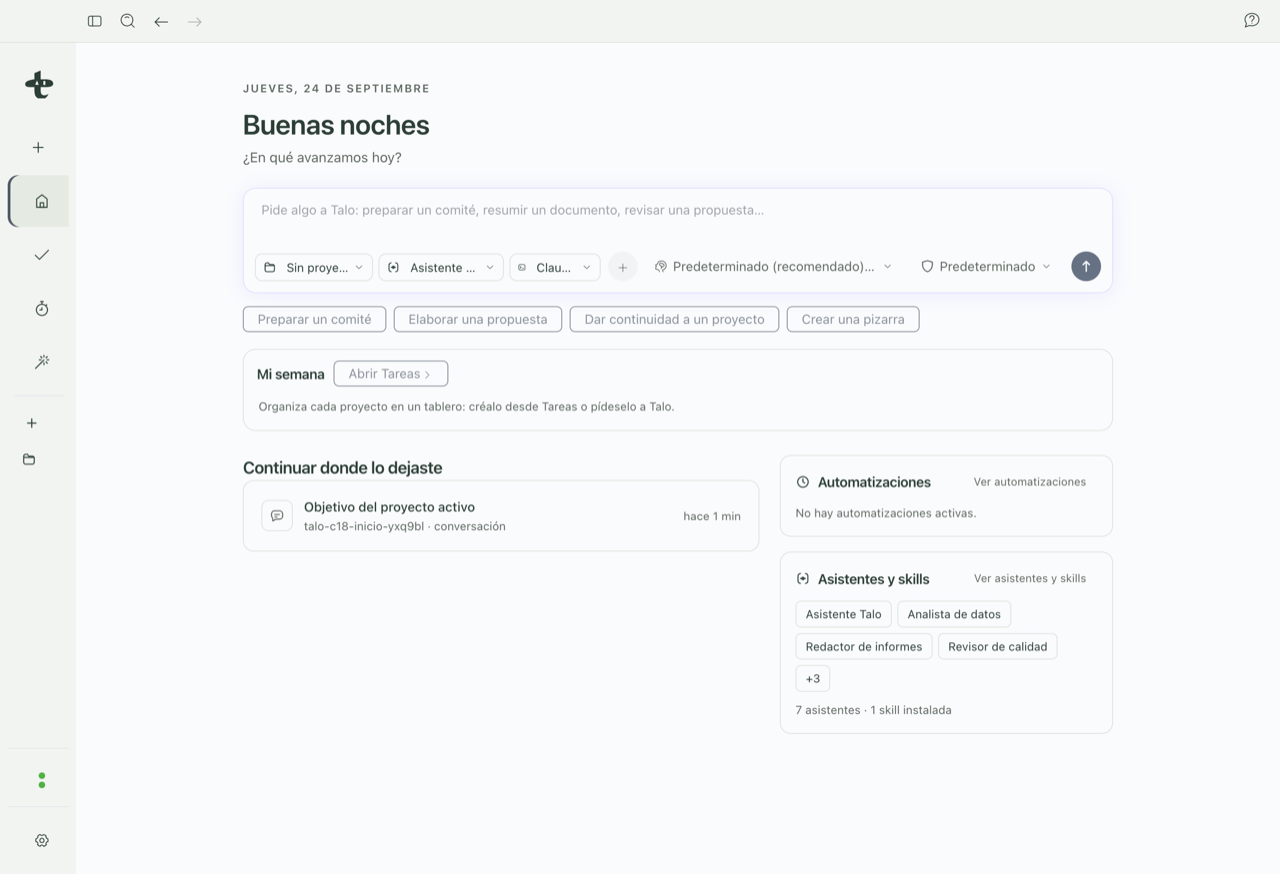
Next time you open Talo, you'll find this conversation in "Continue where you left off" in Home, along with any documents or whiteboards you opened. You don't have to search for it or save it yourself. Talo keeps it exactly as you left it.
Keep learning
You now have the basics to work in Talo. To go deeper:
- Projects: how to organize folders, the project card, and
TALO.mdin detail. - Conversations and assistants: how to pick an assistant, engine, and permissions, and how to get more from your chat.